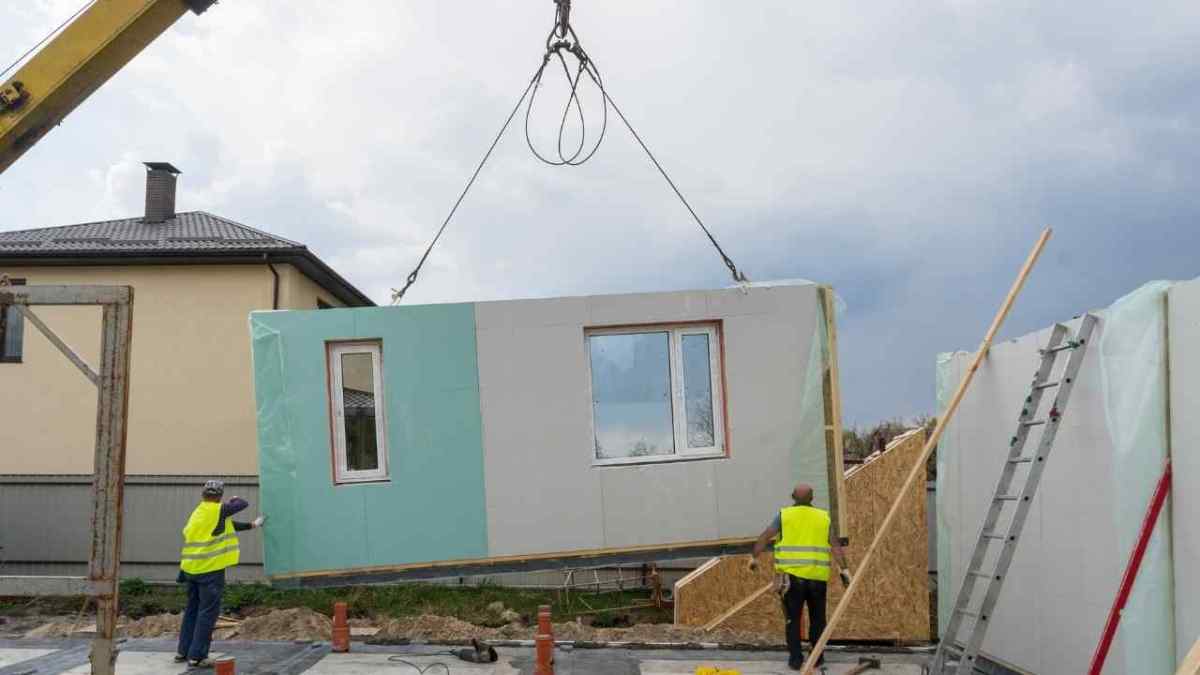
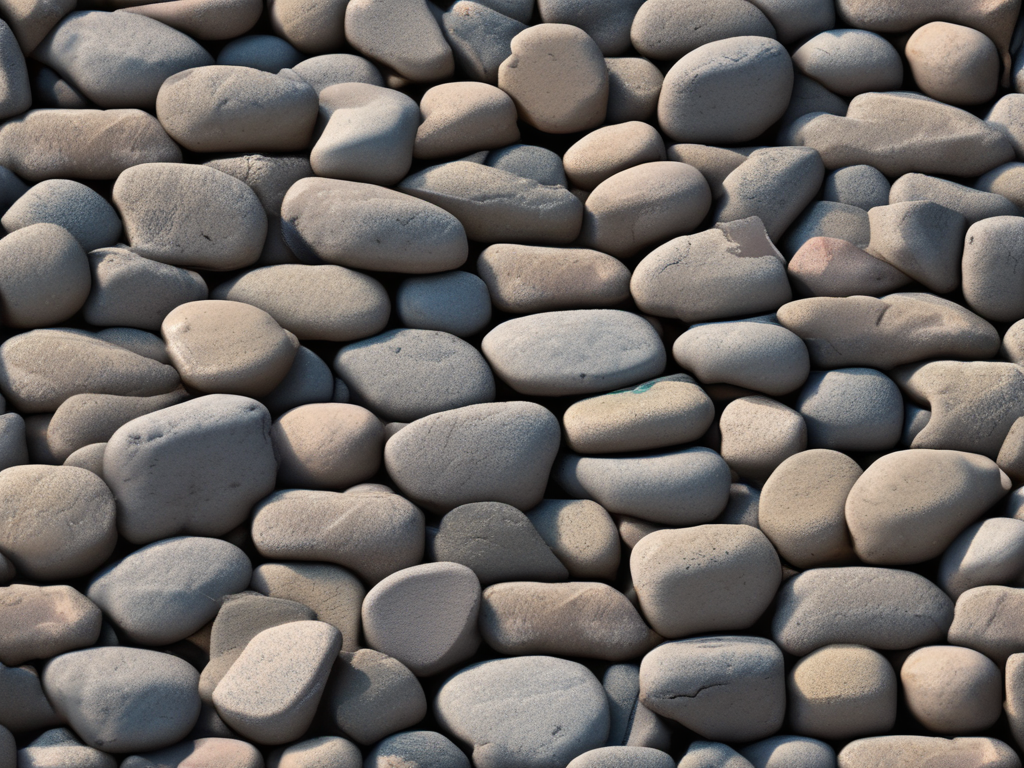
Stones are the form of rocks from the earth’s crust. They find their application in the construction of residential and public buildings, dams, harbours, face-work of structures, road metal, and railway ballast. Besides, stones have good strength and durability.
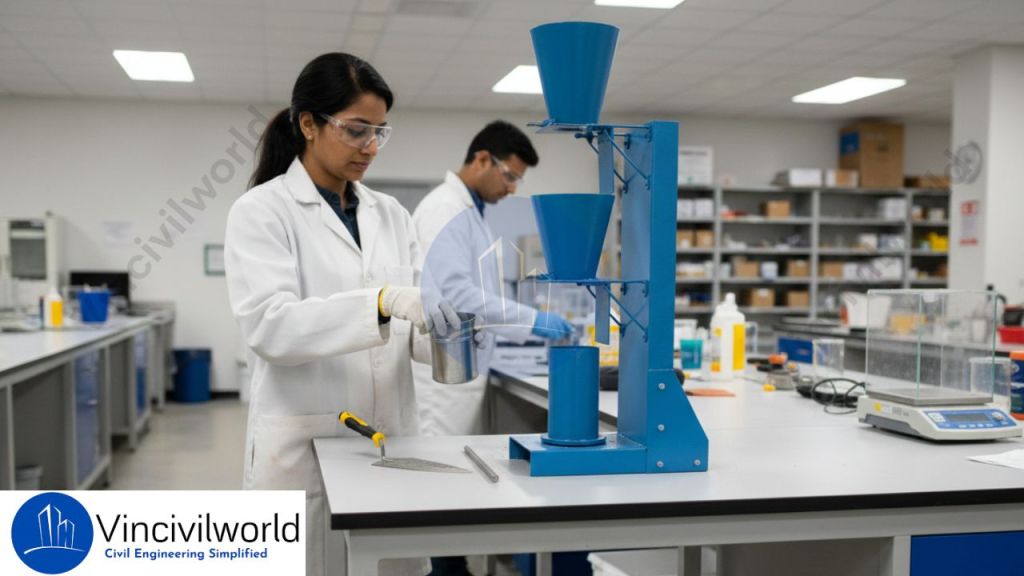
Quality tests on stones are crucial for construction projects. Testing stone ensures that it meets the necessary standards for strength and durability. There are various tests for stones that assess different properties. These tests for stones include crushing strength, water absorption, and abrasion resistance. By performing these tests, engineers can decide the suitability of the stone for specific uses. Properly testing stone helps prevent structural failures and ensures long-lasting constructions. In this blog, we will explore the different types of stones and the procedures for each quality test. This information is essential for anyone involved in construction and material choice.
- Types of Stones Used in Construction
- Acid test
- Attrition test on stones
- Crushing test on stones
- Stone Crystalline test
- Freezing and Thawing Test
- Hardness Test
- Impact test
- Water absorption test
- Microscopic tests on stones
- Smiths tests
Types of Stones Used in Construction
Granite is a hard, durable stone, ideal for high-stress applications. Tests on stones, like crushing strength tests, highlight its robustness. Limestone is versatile but porous, requiring water absorption tests. Marble is prized for aesthetics, with abrasion resistance tests ensuring durability. Sandstone, used in paving and walls, needs strength and porosity tests. Slate, known for durability, is tested for impact resistance and is used in roofing and flooring. Proper testing stone ensures suitability for construction.
Qualities of Good Stone
We consider good-quality stones for the construction of important engineering structures. The next are the prime requirements of good-quality stones.
Also read : 9 lab tests for flexible pavements
- The heavy stones have less porosity and high compactness. Thus the specific gravity of stones should be high.
- Uniform and appealing colour stones are employed for decorative works.
- Should have a homogeneous composition and should have less water absorption.
- It should have the ability to get good polish.
- Moreover, it should be free from iron oxides and calcium carbonate to resist fire.
- The dense compaction of rocks can withstand the consequences of external agencies.
- A good stone must be free from quarry sap.

Test on stones
Testing stone is essential to make sure durability and strength in construction. These tests for stones assess various properties. Proper tests on stones prevent structural issues.To conclude the strength, durability and other engineering properties of the stone, the following tests are performed.
- Acid test
- Attrition test
- Crushing test
- Crystalline test
- Freezing and thawing test
- Hardness Test
- Impact test
- Water absorption test
- Microscopic Test
- Smith’s Test
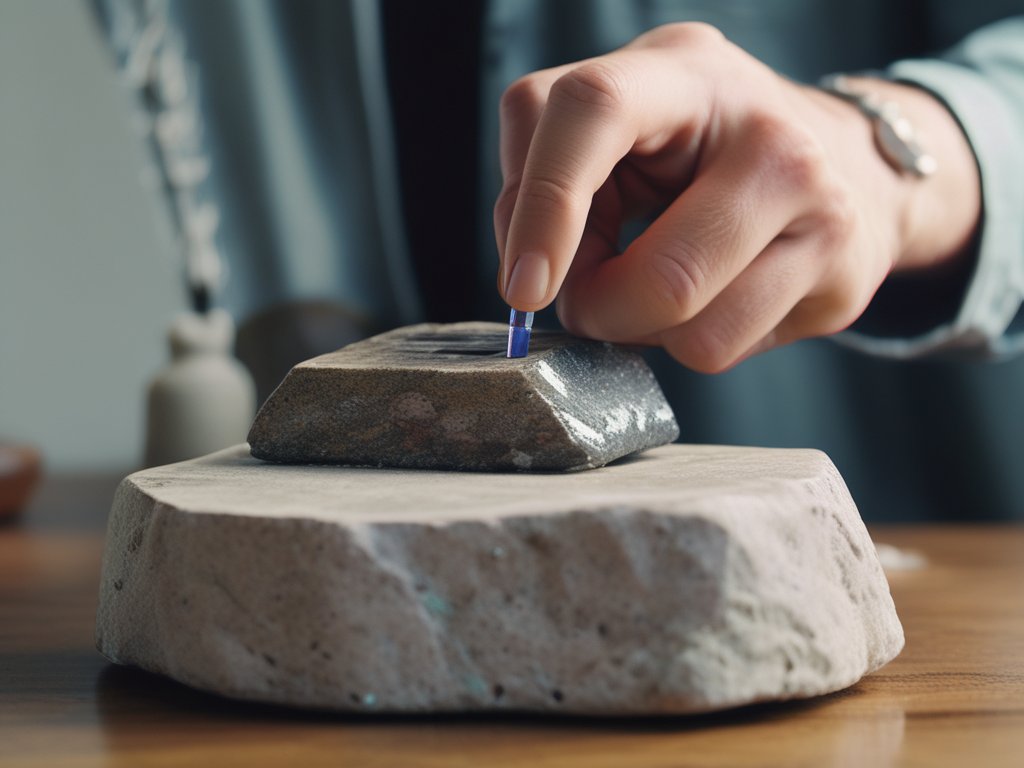
Acid test
The acid test is a crucial procedure in testing stone for quality. Tests on stones help to determine the durability and suitability. Proper tests for stones ensure reliable construction materials.The acid tests determine the presence of calcium carbonate in rocks. The test method is as follows,
- Take some 50 to 100g specimen randomly.
- Then place them in the solution of sulphuric acid and hydrochloric acid having 1% strength for about one week.
- Frequently mix the solution and immerse the specimen fully.
- Subsequently, observe the specimen.
- Specimen with high lime content causes efflorescence due to the presence of an acid solution.
Attrition test on stones
The attrition test indicates the rate of wear of the stone under the sudden impact of loads. Another name of the attrition test is the abrasion test. The apparatus for the attrition test is Devel’s testing machine.
- Take some sample specimen and break them into small pieces having 60mm size.
- Now take 50N of stones and place them in the cylinder of the testing machine.
- Then close the cylinder and rotate them for 5 hours at a rate of 30 rpm.
- After 5 hours, take the samples outside and sieve them through a 1.5 mm mesh.
- Weigh the amount of material retained in the sieve and calculate the percentage of wear using the following formula.
Percentage of wear = ( Loss in weight / Initial weight ) x 100
Thus, we get the percentage of wear.


Crushing test on stones
The crushing test gives the strength of the stones. These tests are performed for stones to be used at the bottom of heavy structures.
- For this test, cut the stone specimens into 40mm x40mmx 40mm and dress the sides.
- Minimum of three specimens are needed for this test.
- Before starting, place the specimen in water for 72 hours.
- Then cover the load-bearing surface of the specimen with a plywood layer.
- Now place the specimen in the testing machine.
- Simultaneously, apply load axially at a rate of 13.7 N/mm2 per minute.
- Note down the load at which the stone breaks. Calculate the strength using the following formula.
Crushing strength = Maximum load at which stone breaks / Loaded area
However even weak stone possess high compression strength. For example, the crushing strength of stone for ordinary building works should not exceed 1N/mm^2.
Stone Crystalline test
This test defines the weathering nature of stones. To conduct this test we need at least 4 cubes with 40mm size. The crystallisation of Calcium sulphate causes eroding of stones
- To start with first, immerse the samples in a solution of sodium sulphate at normal room temperature.
- After that dry them at 100 degree Celsius and repeat these steps 5 times.
- Then note down their difference in weight in the percentage of the original weight.
- The difference in weight shows the weathering quality of the stones.
Freezing and Thawing Test
As stones in the construction work are exposed to sunlight, wind, rain etc. This test is necessary to carefully study the behaviour of stone. The test procedure is as follows.
- Take the specimen and immerse it in water for 24 hours.
- Then place it in a freezing mixture at 12 degree Celsius for 24 hours.
- Frequently repeat the above two steps and observe the stone quality.
Besides, perform this test only in the shade to prevent the consequences of rain, sunlight, etc.
Hardness Test
The hardness of the stone is its ability to resist scratch or rebound.
- For this test, we use a penknife. This can not make a scratch on pard stones like granite.
- Moh’s scale value determines the hardness of the specimen.
- For example, Moh’s scale value is 1. Since it is easily scratchable.
- Likewise for Quartz, Moh’s scale value is 7. Since it cannot be scratched with a knife.
Impact test
The impact test determines the toughness of the stone. The impact testing machine is the apparatus used for this test. The test procedure is as follows.
- Take a specimen in a cylindrical shape with 25mm diameter and 25mm height.
- Then place it on the cast iron anvil of the machine
- After that, allow a steel hammer of 20N to fall vertically over the specimen
- The first blow height is at 1cm. For the second blow height, it is 2cm and so on.
- Gradually increase the height of the blow. Finally, note down the height at which the specimen breaks.
- The height at which the specimen breaks is the toughness index.
Water absorption test
Through this test, we can determine the porosity as well as moisture content. The water absorption test is as follows
- Prepare a stone sample and record its weight asW1
- Then immerse the cube in distilled water for 24 hours.
- After that wipe the water with a damp piece of cloth. Again weigh the sample as W2.
- Now suspend the cube freely in water and record its weight as W3.
- Subsequently, place the cube in boiling water for five hours. Again weigh the cube and record its weight as W4.
- From the above data, we can also calculate the percentage absorption of water and saturation coefficient using the formula.
Percentage absorption by weight after 24 hours = (W2- W1)/ W * 100
Percentage absorption by volume after 24 hours = (W2 – W1)/( W2 – W1) * 100
Saturation coefficient = Water absorption / Total porosity = (W2- W1) – ( W4- W1)
Microscopic tests on stones
This test helps to study the geology of the stone. The sample is placed for microscopic examination to analyse the below properties.
- Mineral components
- Texture and nature of stones
- Presence of malicious substance
- Determining defects and pores
- Size calculation, etc.
Smiths tests
Smith’s test calculates indicates the presence of earth matter in stones.
- In this test firstly, break the specimen into small pieces.
- Then take a test tube with clear water and place these pieces in it.
- Vigorously shake the test tube. The muddy colour of the water shows the presence of earthy matter.
Key Takeaways
Quality tests on stones are essential for ensuring their suitability in construction projects. Testing stone involves various tests, including crushing strength, water absorption, and abrasion resistance. Each test stone procedure is designed to assess specific properties, such as strength, durability, and weather resistance. Granite, limestone, marble, sandstone, and slate are commonly used stones that undergo these tests for stones. Procedures like the acid test, attrition test, and freezing and thawing test help determine the stone’s durability and resistance to environmental factors. Proper tests on stones prevent structural issues and ensure long-lasting constructions. Understanding these tests for stones is crucial for anyone involved in construction and material selection.
Conclusion
In conclusion, performing quality tests on stones is a fundamental step in construction to ensure the materials’ strength and durability. Testing stone through various procedures, such as crushing strength, water absorption, and impact tests, provides critical information about the stone’s properties. These tests for stones help in selecting the right material for different construction purposes, ensuring safety and longevity. Types of stones like granite, limestone, marble, sandstone, and slate each require specific testing methods. Therefore, incorporating these tests on stones into the construction process is vital for achieving reliable and robust structures. Properly testing stone materials guarantees their performance and enhances the overall quality of construction projects.