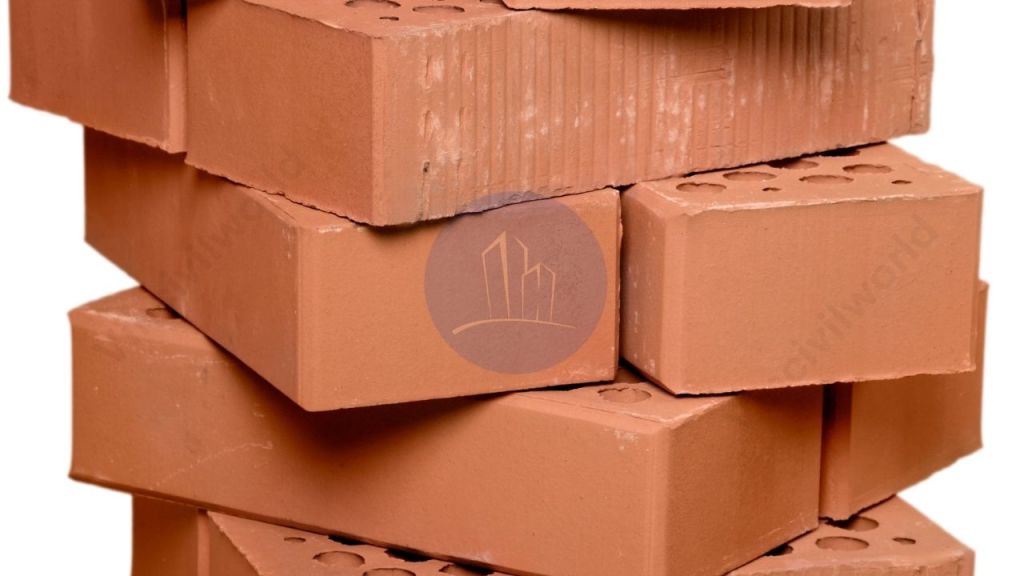
Testing of bricks is a crucial step both on-site and in laboratories to verify the quality and suitability of bricks for construction. Bricks are one of the oldest and most reliable building materials, valued for their strength, durability, and affordability. Typically made from clay, bricks usually measure 190 mm × 90 mm × 90 mm with sharp, rectangular edges. They serve as essential components in construction, acting as both load-bearing structures and means of load transfer. To ensure their effectiveness, several brick quality tests are conducted, including the compressive strength of bricks, water absorption test, efflorescence test, and brick durability test. These types of brick tests help assess the brick’s resistance, porosity, and overall performance under different conditions. Adhering to these testing methods guarantees that only high-quality bricks are used, leading to safer and more durable construction projects. Understanding the methods for testing bricks is vital for builders, engineers, and quality controllers.
- Requirement of Good Quality Bricks
- Testing of Bricks – Top 8 tests on bricks
- Compressive strength of brick/Crushing strength of brick
- Efflorescence test on brick – Testing of bricks
- Hardness test on bricks
- Shape and size Testing of Bricks
- Colour test of bricks
- Structure Test on Bricks
- Soundness test of bricks
Requirement of Good Quality Bricks
Good quality bricks are essential in construction to ensure strong, durable, and safe structures. They provide a stable base and resist environmental stresses, contributing to the longevity of buildings. The requirement for good bricks includes uniformity in size and shape, strength, durability, and minimal water absorption to prevent damage from moisture.
- Bricks should be homogeneous and compact.
- They should have equal proportions of clay, sand, and silt.
- Bricks should have requisite plasticity.
- They should be free from defects like lumps and holes.
- The shape of the brick should be rectangular.
- A good brick should not break if dropped from a one-meter height.
- Brick should not possess internal cracking and shrinkage.
- The brick should be fire and scratch-resistant.
- Water absorption of brick should not exceed 20 per cent of its dry weight.
- The compressive strength of the brick should not be less than 3.5N/mm2.

To maintain these qualities, testing of bricks should be done. This article discusses the test on bricks that are carried out to ensure the quality of good bricks.
Related posts from vincivilworld


Testing of Bricks – Top 8 tests on bricks
Bricks must undergo various tests to ensure their quality, strength, and durability for safe and long-lasting construction. Proper testing helps identify defects, assess strength, and confirm compliance with standards, preventing structural failures and ensuring cost-effective use of materials.
- Water absorption test of brick
- Compressive strength test of brick/ crushing strength test on bricks
- Hardness test of brick
- Shape and size test of bricks
- Colour test of bricks
- Soundness test of brick
- Structure of brick test
- Efflorescence test of brick
Water absorption testing of bricks
A water absorption test of the brick is performed to determine the amount of moisture absorbed by the brick under extreme conditions. The purpose of the water absorption test of bricks is to determine their durability of the bricks. The water absorption test necessitates the use of a weighing machine and a drying oven.
- Firstly, the brick specimen is dried in a drying oven
- After that, weigh the dry specimen using the weighing machine and mark it as W1.
- Secondly, immerse the brick in water for 24 hours.
- Then take the brick out and drain the water.
- Similarly, measure the weight and mark it as W2.
- Finally using the formula determine the water absorption.
Water absorption = (W1 -W2) / W1 x 100
The moisture content of the brick is thus determined by the difference between the dry weight and the wet weight. Water absorption for high-quality bricks should be less than 20% of the dry weight. This brick test ensures that the brick is long-lasting and can withstand extreme weather conditions.
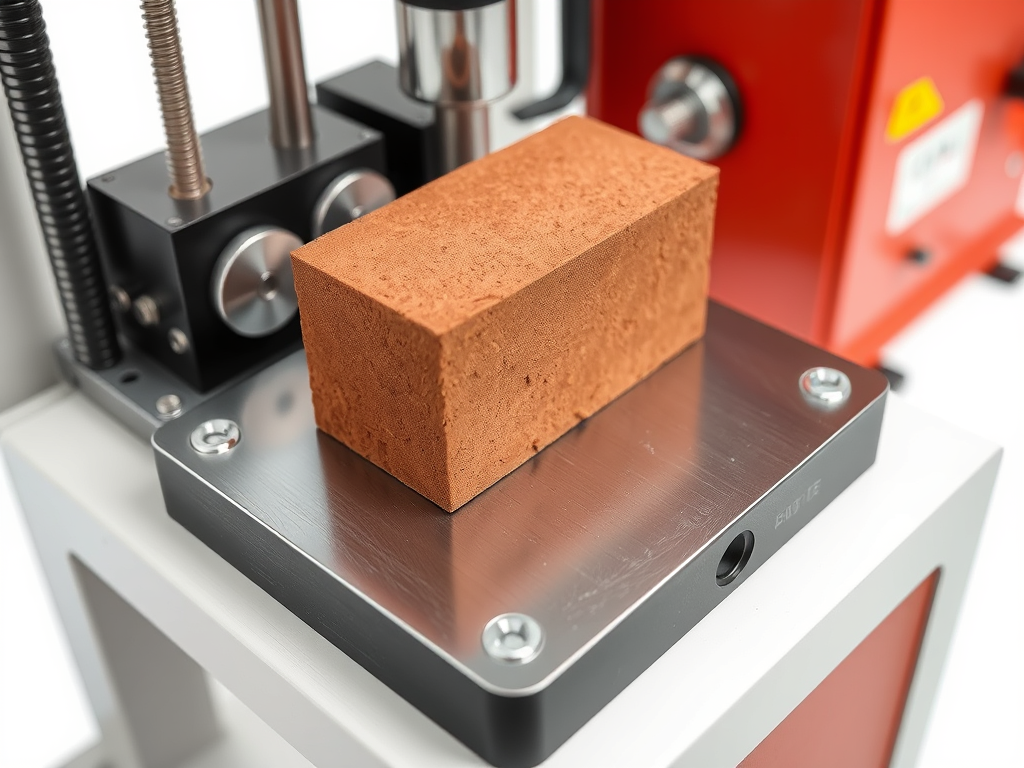
Compressive strength of brick/Crushing strength of brick
The ability of the brick to withstand a particular load without failure is the compressive strength of the brick.
A compressive strength testing machine is the apparatus for determining the compressive strength of brick.
- First, Take three sample specimens and submerge them in water.
- After 24 hours, drain the water. Fill the frog and void with mortar in a ratio of 1: 3.
- Subsequently, store the brick in jute bags for 3 days.
- Place the brick in the compression testing machine with the brick frog area facing upwards. After that apply the load slowly.
- Note down the load at which the bricks break.
- Finally, using the formula to determine the compressive strength of brick.
Compressive strength (N/mm2) = Maximum load at bricks fail/ Loaded area of brick
For good quality bricks, the compressive strength should not be less than 3.5 N/mm2.

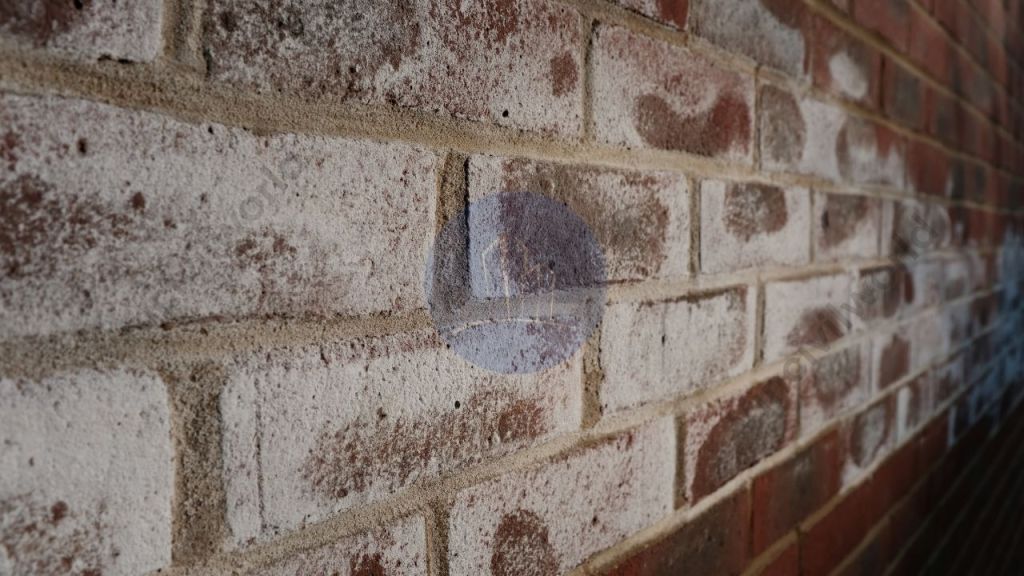
Efflorescence test on brick – Testing of bricks
A good quality brick should be free of soluble salts. However, If soluble salts are present, they form a white substance on the brick surface. Generally, efflorescence on brick is the name given to this white formation. The test procedure for performing the Efflorescence test on brick is as follows.
- First, take a brick specimen and submerge it in water for 24 hours.
- After 24 hours, drain the brick and allow them to dry.
- Keenly observe the brick surface.
| Brick surface condition | Degree of Efflorescence |
| No white substance | Zero efflorescence |
| 10% white substance | Slight efflorescence |
| 50% white substance | Moderate efflorescence |
| More than 50% white substance | Heavy efflorescence |

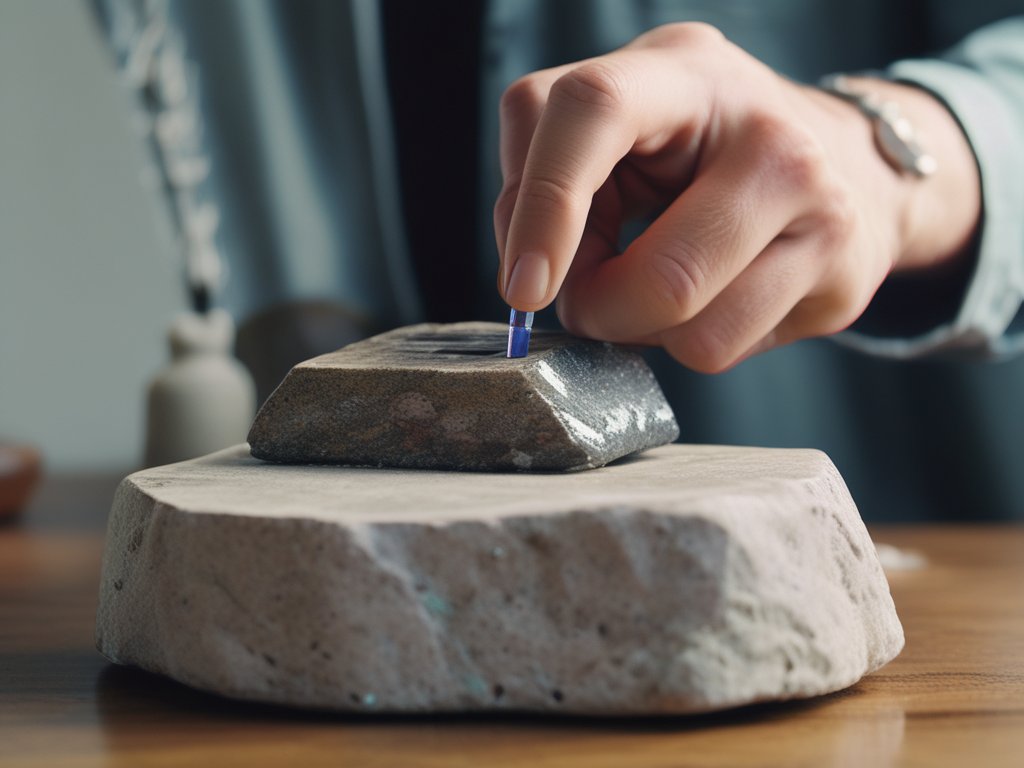
Hardness test on bricks
The hardness test on bricks is a field verification test. Hence they are performed on-site. A good brick should resist scratches against sharp things. The following is the test procedure for the hardness test on bricks.
- At first, choose a brick randomly from the stack.
- Using a nail or finger make a mark on its surface.
- If there is no scratch, then it is a good quality brick.
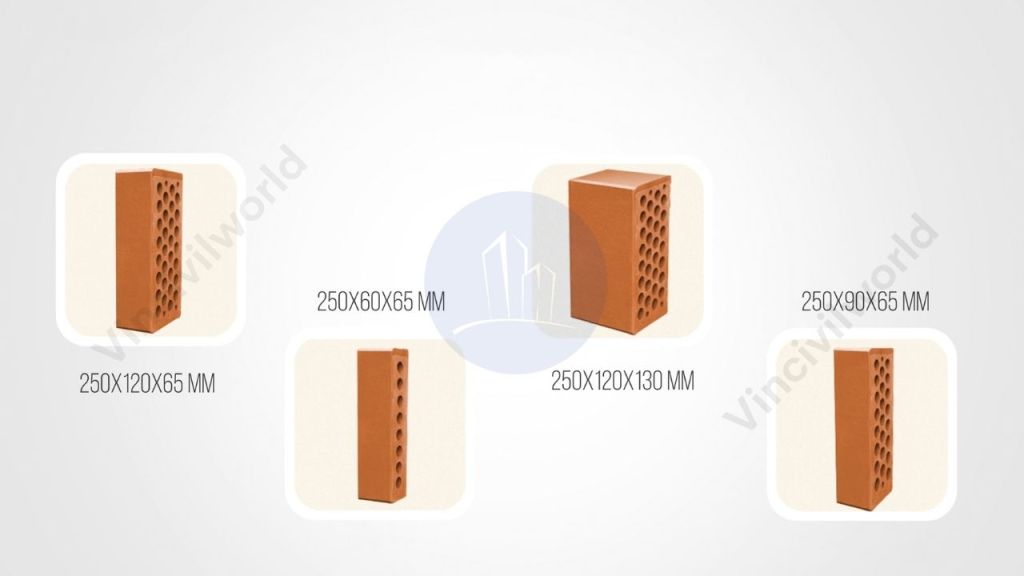
Shape and size Testing of Bricks
A good quality brick should be uniform in size and rectangular in shape. In order to check this, measure the brick on the field. The standard size of the brick is 190mm x 90mm x 90mm.
- Randomly, choose 20 bricks from the stack.
- Sort them in length, width and height wise.
- If the sizes are the same, Then they are good bricks.

Colour test of bricks
Normally good quality bricks are deep red or copper colour. The colour test is a field test. Therefore, it can be observed visually.
Structure Test on Bricks
Homogeneity and compact structure are the quality of good bricks.
- Randomly, pick one brick from the stack.
- Cut the brick into two pieces at the centre.
- Then observe its inner side.
- They should be free from defects such as lumps, holes etc.
Soundness test of bricks
The soundness test of bricks is a field test used to determine the strength of the bricks.
- In this test, choose two bricks randomly without damage or break.
- Hit the bricks with each other.
- Then, listen to the sound the brick produce.
- If a metal ringing sound is produced, then it is good quality bricks.