Types of interior paints play a major role in defining the look, durability, and comfort of indoor spaces. Choosing the right option becomes easier when you understand the interior paint types list and how each one performs. Homeowners often compare finishes, which makes knowing the best interior wall paint finishes essential for both aesthetics and maintenance. This guide clearly explains interior paint finishes explained in simple terms, helping you select the right sheen for every room. It also compares water based vs oil based interior paints, highlighting differences in drying time, durability, and ease of use. Since every space has unique needs, understanding interior paint types for different rooms helps achieve better results. With the right knowledge, you can select paints that look good, last longer, and enhance overall interior quality.
Interior paints, as the name suggests is the process of decorating the interior walls of a structure. While thinking of interior painting most people are more concerned about colours, shades, and textures. They never focus on the type of paint to be used for their interiors. The paint types to be used determine the durability, sheen and elegance, and life of the interiors and structures.
Deciding the right interior paint is the first and prime thing to do before going to shades and textures. Each paint type comes with its composition, properties, and functionalities.
This blog is about the types of interior paints that are used extensively in the painting of internal walls.
- Best Interior paints types list
- Interior paints Types– Distemper
- Distemper forms available in market
- Best interior wall paint finishes – Emulsion paints
- Types of Emulsion Interior Paints
- Water based vs oil based interior paints
- Advantages of Emulsions
- Key Takeaways
- Conclusion
Best Interior paints types list
A list of interior paint types helps you understand different paint options, finishes, and applications. This makes it easier to choose durable, stylish, and suitable paints for every room. Selecting the right paint type for interior surfaces is the first step before deciding on colours and textures. The following are the major interior paint types widely used today.
- Emulsion paint
- Enamel paint
- Distemper paint
- Texture paint
- Metallic paint
First, we will examine the most commonly used interior paint types, namely distemper and plastic emulsion. Homeowners prefer these paints for interior walls. They apply easily. They remain affordable. They are available in multiple finishes and colours.
Interior paints Types– Distemper
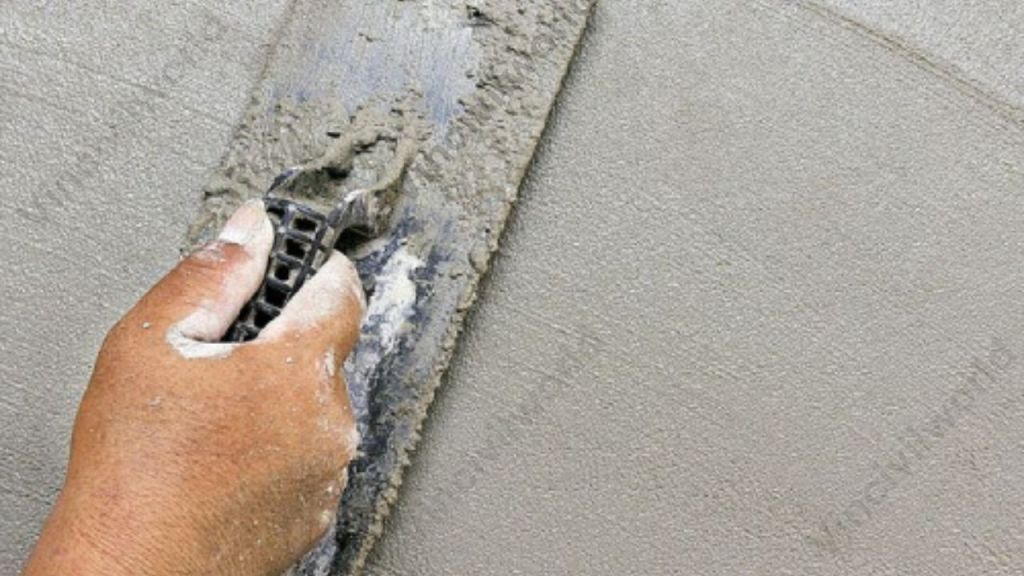
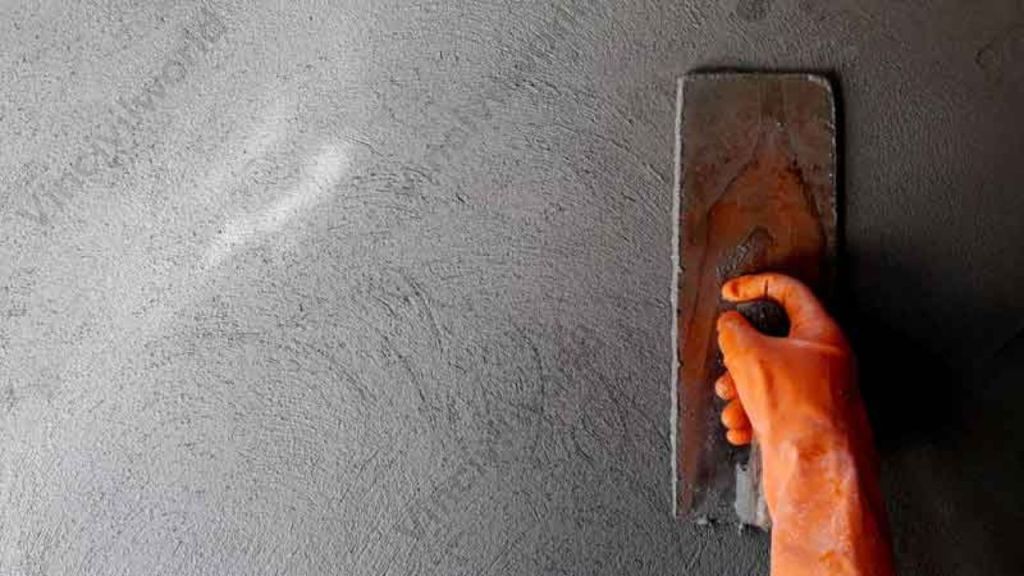
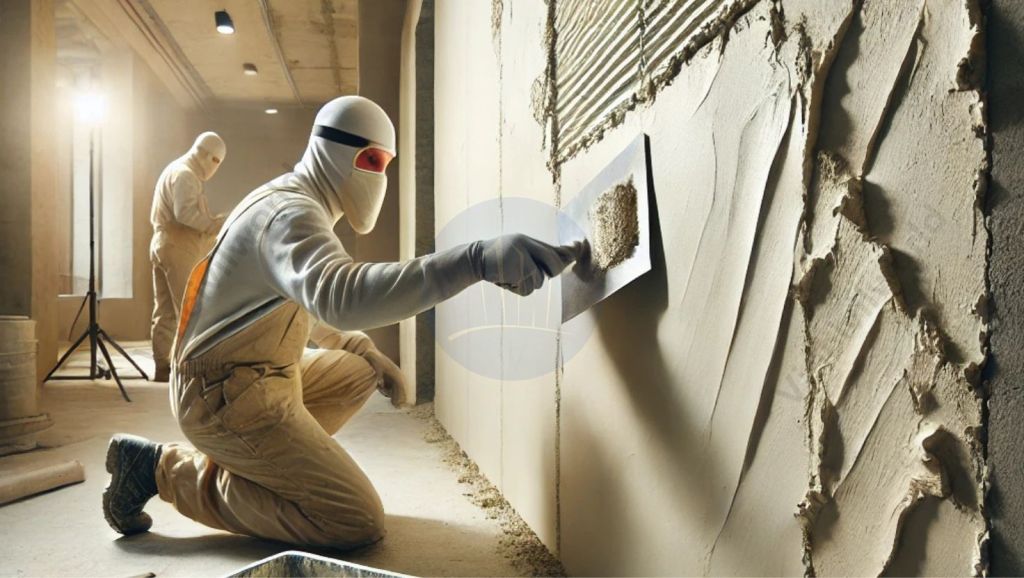
Distemper is the oldest type of interior paint. It was traditionally made by mixing water, chalk, and pigments with animal glue or resins as binders. Earlier, it was the most commonly used paint for interior walls, especially in the early 1980s. Over time, distemper has evolved and is now available in different types and improved grades to meet modern interior requirements. People often confuse distemper with whitewash, but distemper delivers far better finish, durability, and performance. Unlike whitewash, which uses a simple lime-based coating, distemper offers better coverage and a longer service life.
Workers apply distemper directly over plastered surfaces without using primer or putty. They must remove it before repainting with modern finishes. It does not serve as a suitable base coat for superior paints.
There are two types of Interior Distemper paints
- Dry distemper ( water based paint)
- Oil bound distemper (OBD)
Dry Distemper
Dry distemper is a water-based interior wall paint made from chalk, lime, glue, and water. Painters apply it using a brush, and it provides a better appearance than traditional whitewash. Manufacturers supply dry distemper in powder form, which users mix with water and glue before application. To achieve an even and smooth finish, painters apply a minimum of three coats. This type of distemper creates a rustic or earthy look, making it suitable for ceilings and low-traffic interior areas. However, dry distemper is non-washable and has limited durability. Due to its low cost and simple application, homeowners consider it the most economical interior paint for residential use.
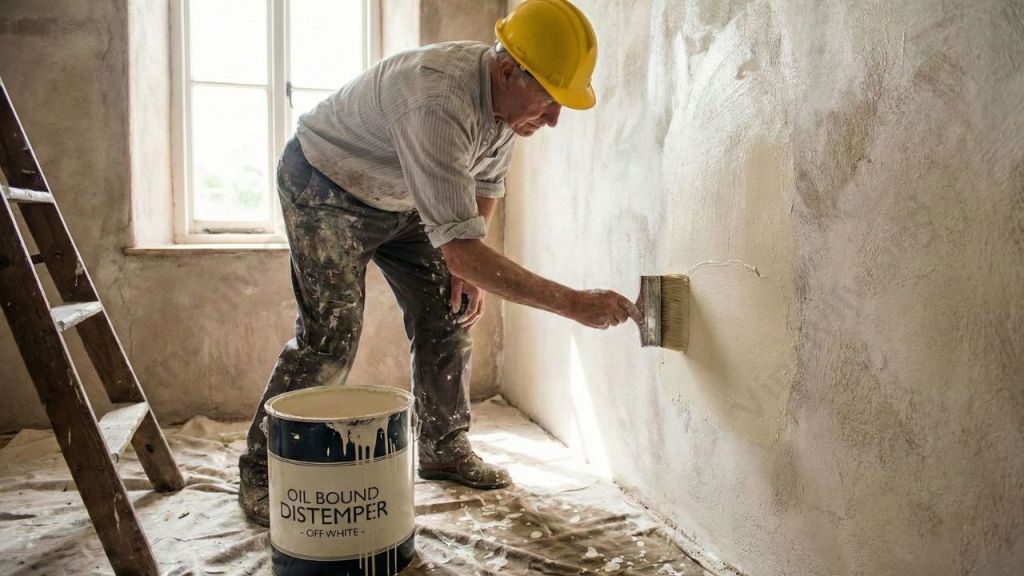
Oil Bound Distemper (OBD)
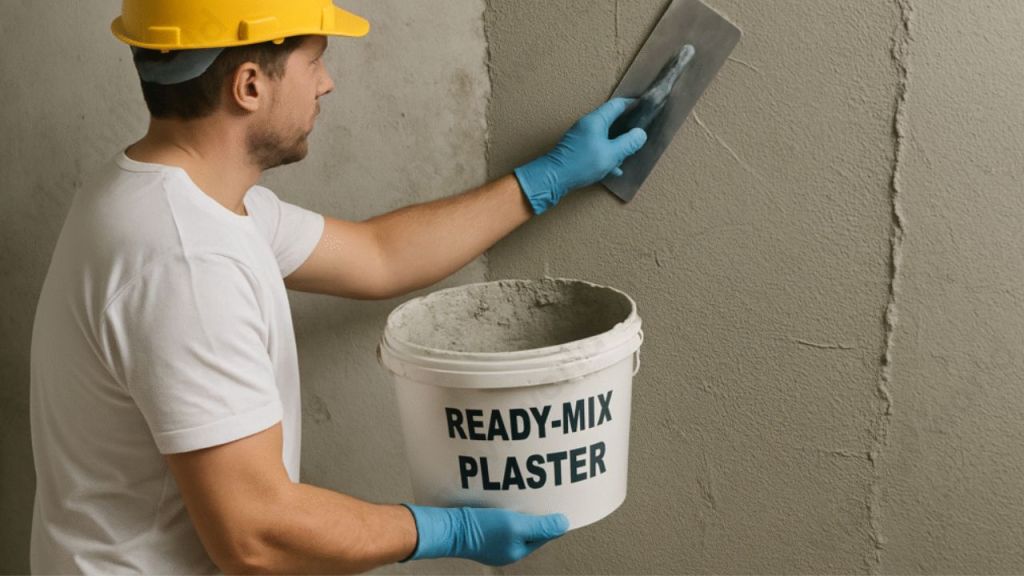
Oil-bound distemper (OBD) is an improved form of distemper that contains drying oils or varnish, which provide better water resistance. It is available in ready-mix form and can be applied using a brush or roller. When applied in at least three coats, it delivers a smooth matte finish. One of the key advantages of oil-bound distemper is that it is washable, making it more suitable for interior walls. The presence of drying oils improves coverage area and allows the surface to dry within four hours. OBD is affordable, durable, and available in a wide range of colours. It is commonly used on plastered surfaces, brick walls, and ceilings in residential and industrial interiors. Compared to dry distemper, oil-bound distemper offers better durability and performance.
Also read : Marble flooring – Advantages and disadvantages – complete analysis
Also Read : Vitrified tiles vs ceramic tiles – which one do you choose
Also Read : Tiles and marbles – which is best
Distemper forms available in market
Distemper availability in the market includes several improved formulations designed for better performance and finish. Today, distemper paint is commonly available in the following three main forms:
- Acrylic distemper
- Synthetic distemper
- UNO acrylic distemper
Acrylic Distemper
Manufacturers formulate acrylic distemper as a water-based paint using acrylic copolymers, making it an eco-friendly choice for interior walls. It delivers a smooth matte finish and offers better durability than traditional distemper. Painters find it easy to apply, low in odour, and well suited for residential interiors that require affordability with improved performance.
Synthetic Distemper
Synthetic distemper is a water-based, oil-bound interior wall paint designed to offer improved strength and durability. Available in a wide range of ready-made shades, it delivers a consistent and attractive finish. Over time, the oil-bound film hardens, resulting in better washability and longer-lasting performance compared to conventional distemper paints.
UNO Acrylic Distemper
UNO Acrylic Distemper is a cost-effective, water-based acrylic distemper developed for interior wall applications. It offers good washability and durability while maintaining a smooth matte finish. Available in over 950 shades, it provides long-lasting color retention and is ideal for budget-friendly residential painting projects.
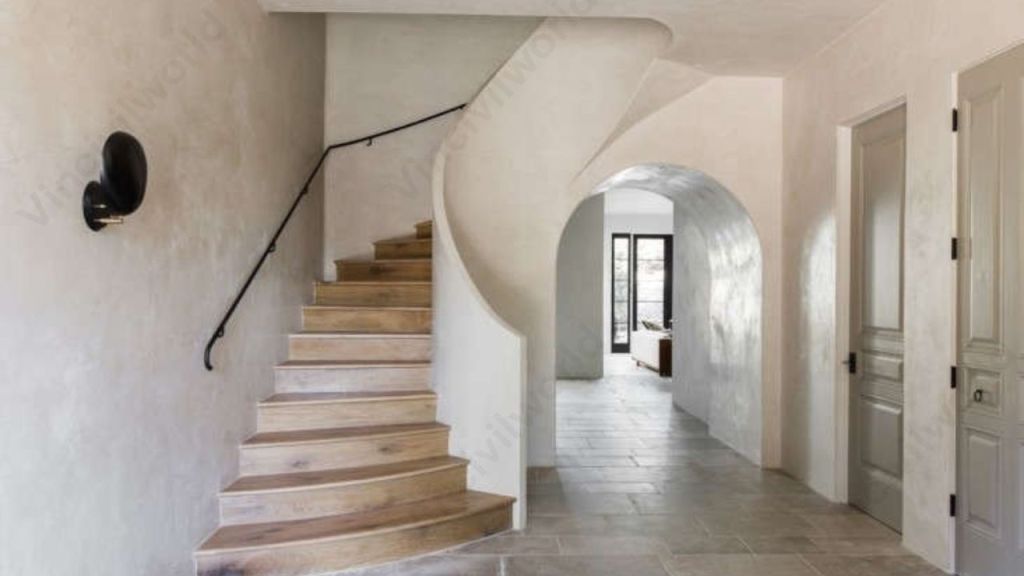
Best interior wall paint finishes – Emulsion paints
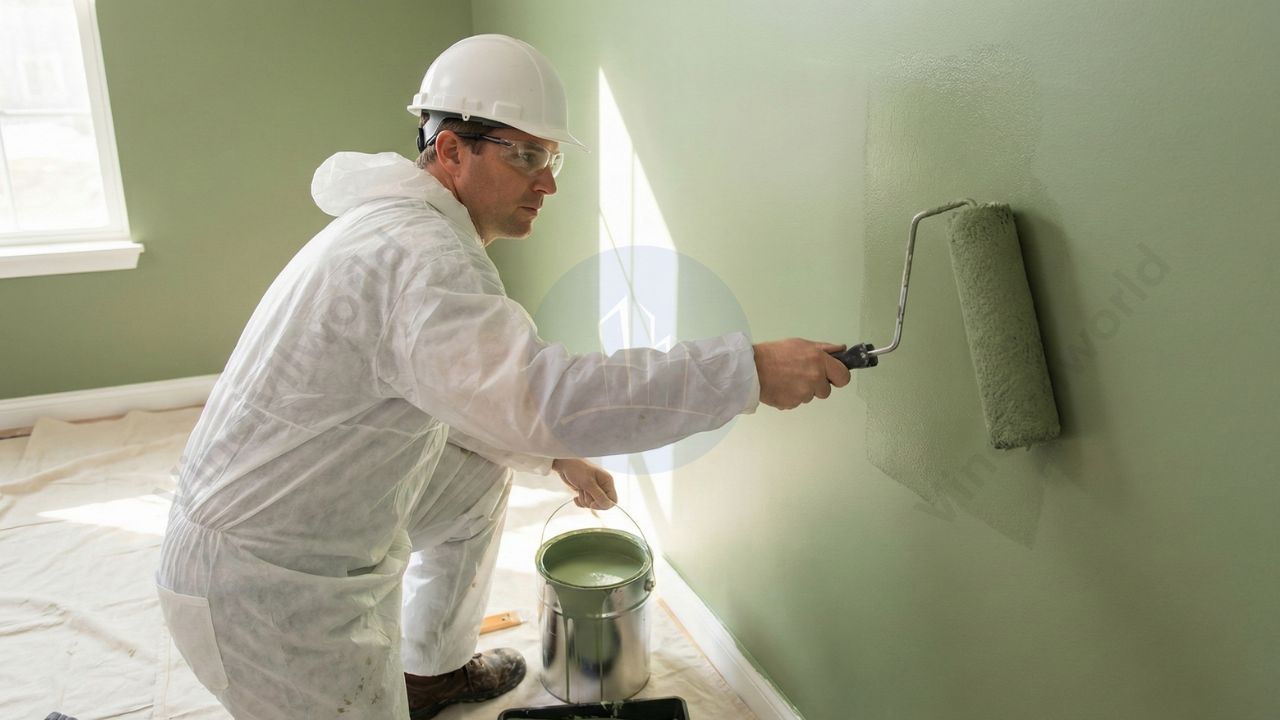
Emulsion paints use a water-based formulation, produce very low odour, and remain the most preferred choice for interior wall finishes.They provide a smooth appearance, excellent durability, and easy maintenance, making them suitable for residential and commercial interiors.
The main ingredients of emulsion paint include pigments, acrylic or vinyl resins, water as the solvent, and performance-enhancing additives. The acrylic resin is present in an emulsion form and acts as a binder, helping the paint adhere to the wall surface while holding all ingredients together after drying. Pigments provide colour, opacity, and protection against ultraviolet (UV) light.
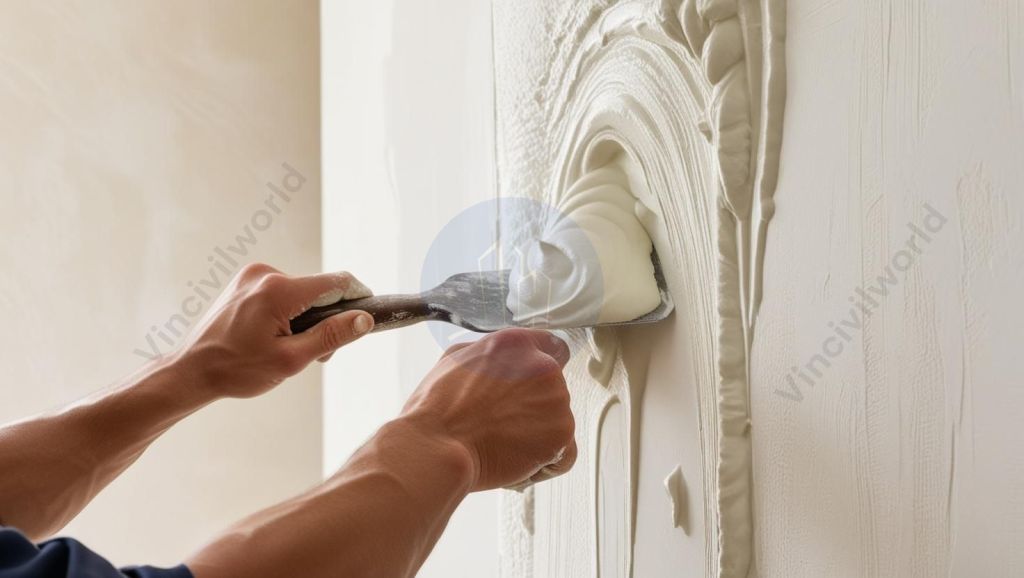
Emulsion paints are quick-drying, washable, and long-lasting. Most stains can be cleaned using mild detergents without damaging the finish. They emit very low VOCs, making them eco-friendly and safe for indoor use. Unlike oil-based paints, emulsion paints produce minimal odour. For best results, primer and wall putty coats are required before applying the final emulsion paintwalls and minimises the odours which are a part of other oil-based paints. Emulsion paints requires a primer coat and putty coats before applying finish paint.

Types of Emulsion Interior Paints
Emulsion paints are commonly called plastic paints, plastic emulsions, or acrylic emulsions. Technically, all interior emulsion paints use a water-based formulation, while plastic emulsion represents a refined type with a higher acrylic binder content. Therefore, while all plastic emulsions are emulsion paints, not all emulsion paints qualify as plastic emulsions.
Plastic emulsion paint is a water-based acrylic wall paint that provides a smooth and uniform finish. Compared to ordinary emulsion paint, plastic emulsion offers better washability, higher durability, and improved stain resistance due to the presence of acrylic resins. These properties make plastic emulsions the most preferred choice for modern interior walls.
Types of Plastic paints are as follows
- Matte finish plastic emulsion
- Eggshell finish plastic emulsion
- Satin finish plastic emulsion
- Semi-gloss plastic emulsion
- Gloss plastic emulsion
Matte finish plastic emulsion
Provides a smooth, non-reflective finish that hides surface imperfections well. Ideal for ceilings and low-traffic interior walls requiring a soft, elegant appearance.
Eggshell finish plastic emulsion
Offers a slight sheen with better washability than matte. It suits living rooms and bedrooms where designers need a balanced combination of visual appeal and durability.
Satin finish plastic emulsion
Delivers a silky, pearl-like sheen with good stain resistance. Commonly used in high-traffic areas like hallways for easy maintenance and enhanced durability.
Semi-gloss plastic emulsion
Has noticeable shine and excellent washability. Ideal for kitchens, bathrooms, and areas exposed to moisture or frequent cleaning.
Gloss plastic emulsion
Provides a highly reflective, shiny finish with maximum durability. Best for doors, trims, and feature walls where strong visual impact is desired.
Water based vs oil based interior paints
Choosing between water-based vs oil-based interior paints depends on durability, drying time, finish, and maintenance requirements. Understanding these differences helps in selecting the right paint for walls, woodwork, and frequently used interior surfaces.
Comparison Water based vs oil based interior paints
| Feature | Water-Based Interior Paints | Oil-Based Interior Paints |
|---|---|---|
| Base | Water | Oil or solvent |
| Drying time | Dries quickly | Slow drying |
| Odour | Low odour | Strong odour |
| VOC level | Low VOC and eco-friendly | High VOC |
| Washability | Good | Excellent |
| Yellowing | Does not yellow | Yellows over time |
| Maintenance | Easy | Moderate |
| Typical use | Interior walls and ceilings | Doors, trims, and woodwork |
Advantages of Emulsions
Homeowners and professionals widely prefer emulsion paints for interior walls. They apply easily and dry quickly. These paints produce low odour. They offer good washability and resist humidity. Emulsion paints emit very low levels of volatile organic compounds (VOCs).
Comparison of Types of interior paints
| Feature | Emulsion Paint | Distemper | Enamel Paint |
|---|---|---|---|
| Base | Water-based | Water-based | Oil-based |
| Drying time | Very fast | Moderate | Slow |
| Odour | Very low | Mild | Strong |
| Washability | Excellent | Poor | Very good |
| Finish | Smooth and uniform | Chalky | Hard and glossy |
| VOC emission | Very low | Low | High |
| Humidity resistance | High | Low | Moderate |
| Maintenance | Easy | Difficult | Moderate |
| Suitability | Walls and ceilings | Low-traffic areas | Wood and metal |
Tiles and marbles – which is best
Key Takeaways
- Emulsion paints are water-based interior paints that homeowners and professionals widely prefer for walls and ceilings.
- Plastic emulsion paints contain acrylic binders that improve durability and washability.
- Compared to distemper, emulsion paints provide a smoother finish and longer life.
- Types of emulsion interior paints include matte, eggshell, satin, semi-gloss, and gloss finishes.
- Matte finish emulsion paint hides surface imperfections effectively.
- Satin and semi-gloss emulsions offer better stain resistance for high-traffic areas.
- Water-based interior paints dry faster and emit very low VOCs.
- Oil-based interior paints provide harder finishes but have strong odour and higher VOCs.
- Emulsion paints require primer and putty for best performance.
- Overall, acrylic emulsions are easy to maintain and eco-friendly.
Conclusion
Emulsion paints have become the most preferred choice for interior wall finishes. This is due to their performance, safety, and ease of maintenance. Unlike distemper and oil-based paints, water-based interior paints offer quick drying. They also have low odour and minimal VOC emissions. The availability of multiple types of emulsion interior paints, including matte, satin, and gloss finishes, allows flexibility for different rooms and usage conditions. Plastic emulsion paints provide superior washability and durability, making them ideal for modern residential and commercial interiors. When compared to oil-based interior paints, emulsions are more eco-friendly and user-friendly. With proper surface preparation using primer and putty, emulsion paints deliver long-lasting, aesthetically pleasing, and healthy interior environments.