Lightweight aggregate plays a vital role in modern construction by reducing structural dead load while maintaining strength and durability. Widely used in lightweight aggregate concrete, it improves thermal insulation, seismic performance, and material efficiency. Understanding the types of lightweight aggregate—both natural and artificial lightweight aggregate—helps engineers select suitable materials for specific applications. Equally important is the lightweight aggregate manufacturing process, which influences density, strength, and absorption characteristics. The properties of lightweight aggregate, such as low unit weight, porosity, and adequate compressive strength, make it ideal for structural, geotechnical, and precast works. This article explains how manufacturers produce lightweight aggregates, highlights their key properties, and describes the different types available, providing a clear technical foundation for effective design and construction decisions.
Lightweight aggregate is a widely used construction material owing to its versatile properties. In this blog, I will walk you through what is a lightweight aggregate, its properties, applications and manufacturing process.
- What is a lightweight aggregate?
- Features of Lightweight Aggregates
- Lightweight Aggregate Desired Characteristics
- Types of Lightweight Aggregates
- Lightweight Aggregates Manufacturing Process
- Lightweight Aggregate Applications
- Key takeaways
- Conclusion
What is a lightweight aggregate?
Lightweight aggregate is a coarse aggregate used to make lightweight concrete for structural as well as non-structural applications.
- The Compressive design strength of normal concrete for cast-in-situ, precast and prestressed concrete ranges between 20 N/mm2 to 35 N/mm2. On the other hand, the minimum compressive design strength of concrete which uses lightweight aggregate will be around 17-18 N/mm2.
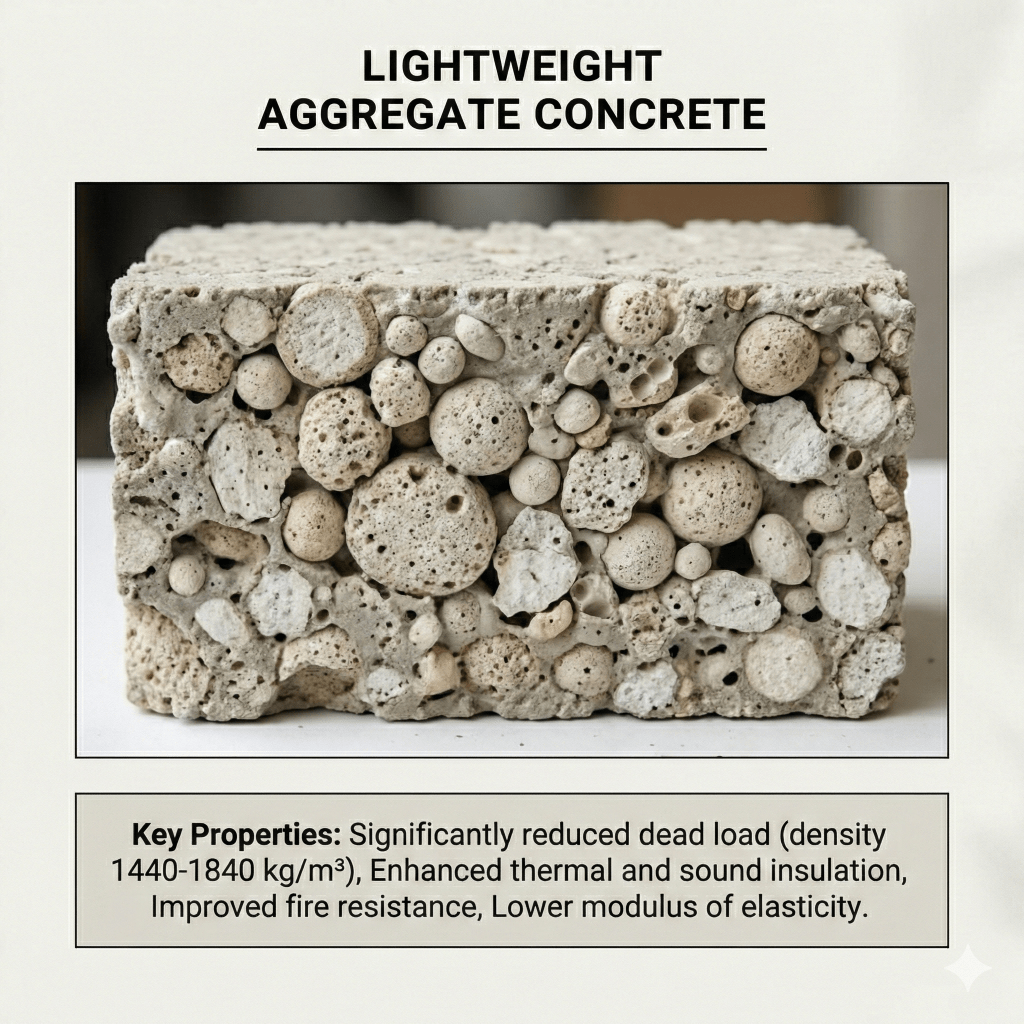
- Normal concrete has a density between 2300 and 2500 kg/m3. However, when it comes to LWC the density ranges between 500 kg/m3 to 1800 kg/m3 depending on the type of aggregate used.
- Lightweight concrete with densities lower than 17 N/mm2 falls under the category of LWC. And, those with densities above 17 N/mm2 are referred to as structural lightweight concrete (SLWC).
- LWC can also be designed for the minimum compressive strength as normal concrete by varying the proportions of mineral admixtures used.
- SLWC is used for structural applications. They can be used along with reinforcement steel just like normal concrete.
Features of Lightweight Aggregates
- The lightweight aggregate used in concrete may have any form, including cubical, rounded, angular, and other shapes. Its workability is directly influenced by its form and texture.
- These aggregates are known for absorbing little water and maintaining their low density.
- A high saturation level makes it an attractive option.
- LWA can reduce the dead loads on the structure and make it more economical.
- Has relatively low thermal conductivity and is preferred for roof insulations.
- Helps in consuming industrial wastes like blast furnace slag, fly ash, clinkers etc.
- Possess good acoustic properties.
In the next section we will see what are the desired characteristics of a lightweight aggregate.

Also read : Pervious Concrete- All Factors Affecting, Limitations & Methodology Explained
Lightweight Aggregate Desired Characteristics
- The properties and composition should be consistent.
- To ensure worthwhile structural savings, the aggregate should have a low specific weight, in compliance with the required ASTM requirements.
- The aggregate should have a low number of large external voids. And a high number of smaller well-distributed voids within the particles.
- Individual aggregate particles should be able to withstand handling and mixing.
- The particles should have a good bond with the cement and should not react chemically with it.
- The aggregate should be rated appropriately for the intended use, according to the relevant ASTM specification
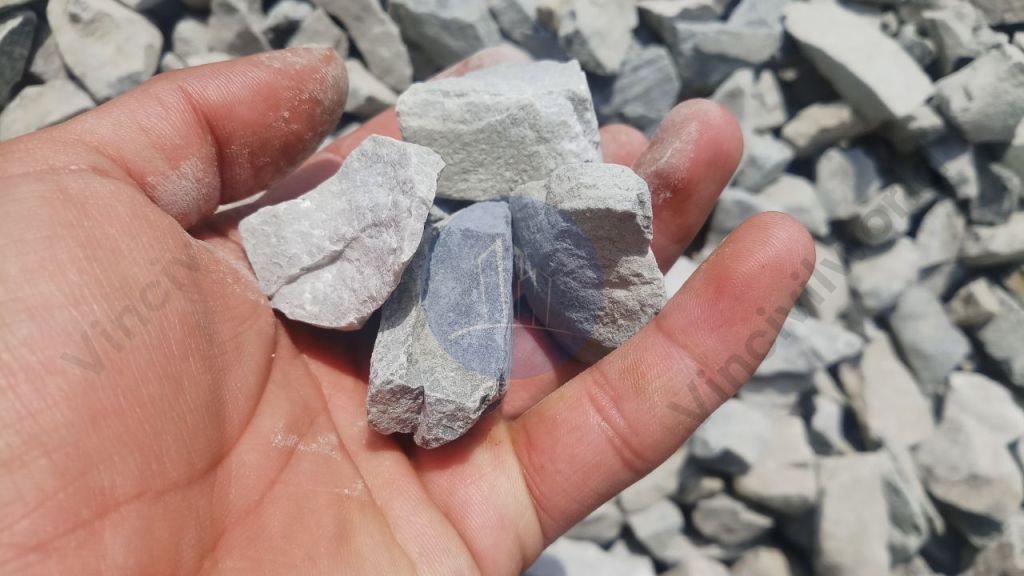
Types of Lightweight Aggregates
Lightweight Aggregates can be divided into three types by their sources:

(1)Industrial waste lightweight aggregate – This is processed by industrial wastes, such as fly as, ceramisite, expanded slag ball, cinder and light sand, etc.
(2)Natural aggregate – This is made from natural porous stone, such as pumice, volcanic cinder, and light sand, etc.
(3) Artificial lightweight aggregate – This is manufactured from local materials, such as clay ceramisite, and expanded perlite, etc.
Also read : ALC Panel – Autoclaved lightweight Concrete Panel
Lightweight Aggregates Manufacturing Process
The majority of lightweight aggregate is made from clay, shale, or slate. However, furnace slag, natural pumice, vermiculite, and perlite can all be substituted.
The raw material (excluding pumice) is extended to about twice its original volume to create lightweight aggregate. The expanded material has properties that are similar to natural aggregate. As a result, it produces a lighter concrete product.
Let me show you the detailed procedure.
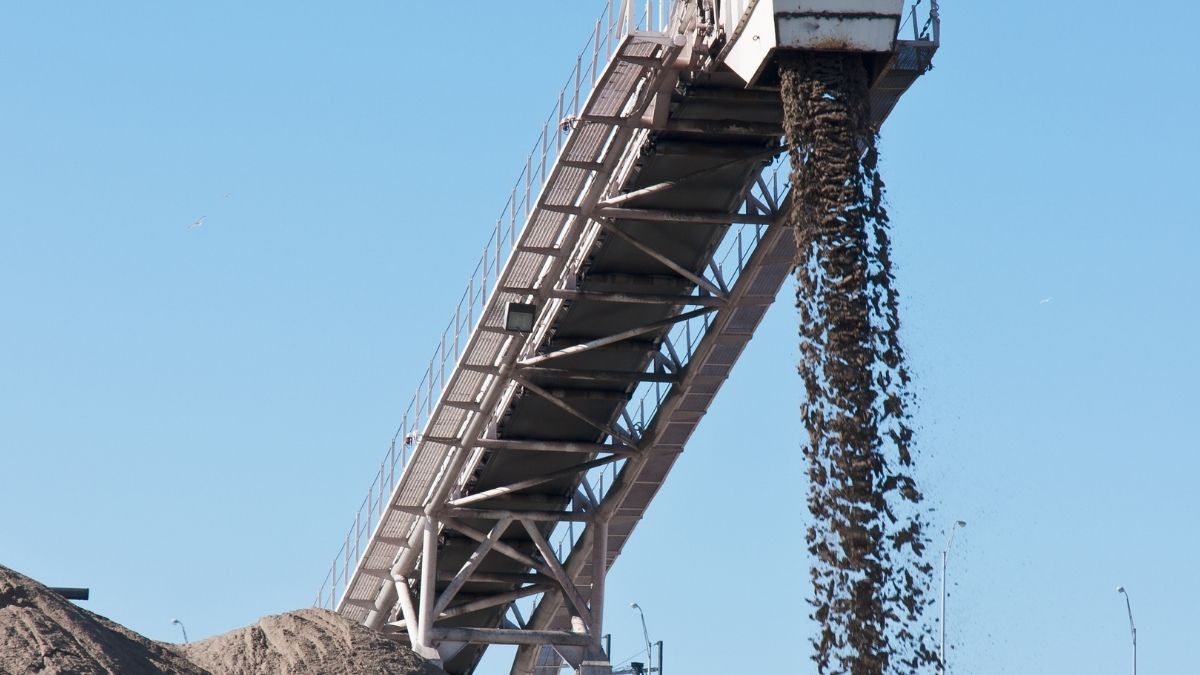
Extraction or quarrying
Cone crushers, jaw crushers, hammer mills, and pug mills are used to crush the material, which is then screened for quality.
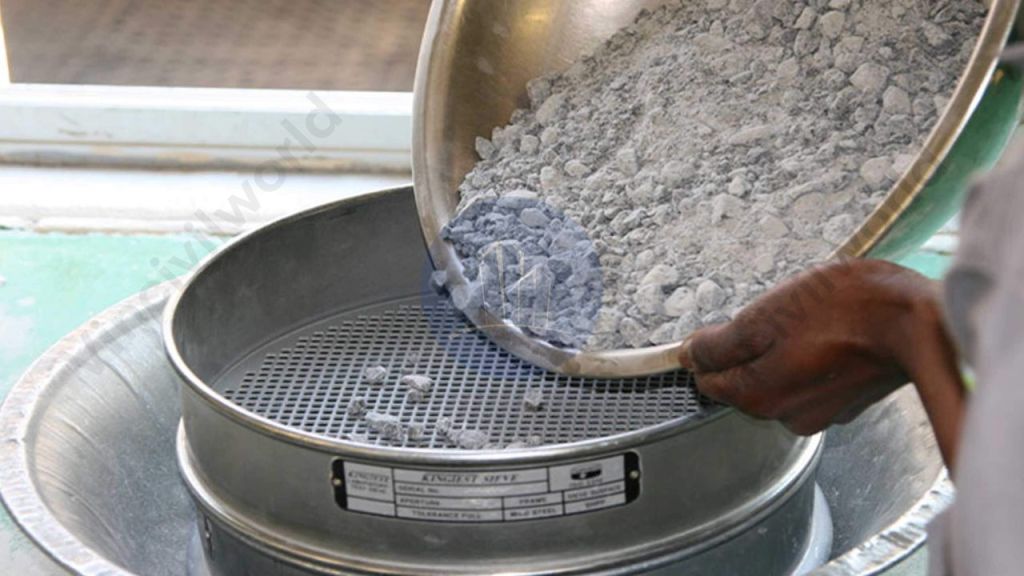
Sizing
The material that passes through the screens is returned to the crushers, and the material that passes through the screens is recycled.
It is then moved to hoppers.
Reaction
- The material is fed from the hoppers into a rotary kiln.
- It is heated to about 1200°C (2200°F) using coal, coke, natural gas, or fuel oil.
- When the raw materials are heated, carbonaceous compounds in the material liquefy, forming gas bubbles that expand the material.
- In addition, VOCs (volatile organic compounds) are released during the process.
- The enlarged product emerges from the kiln.
Cooling
- The product clinker is conveyed into the clinker cooler, where it is cooled by air and shaped into a porous material.
- The lightweight aggregate is screened for scale, crushed if necessary, and stockpiled after cooling.
- Rotary kilns are used by the vast majority of plants (roughly 90%). However, travelling grates are also used to heat the raw material.
Lightweight Aggregate Applications
- Screeds and thickening are made with lightweight aggregates. When the floor or roofs need thickening or smoothing, it can be used to easily achieve it.
- Can be applied to screeds and walls where the wood would be nailed together.
- Casting structural steel in lightweight aggregate concrete can protect it from fire and corrosion. Also, it can be used to cover architectural needs.
- Can be used on roofs as a heat insulation material.
- Used as insulation for water pipes.
- Used to construct partition walls and panel walls in frame structures.
That’s it about lightweight aggregates. Hope you found this article insightful. Let us know in the comments.
Key takeaways
- Lightweight aggregates reduce structural dead load without compromising essential strength.
- Manufacturing methods strongly influence density, strength, and absorption properties.
- Natural, industrial by-product, and artificial types offer flexibility in material selection.
- These aggregates improve workability and enable efficient construction practices.
- They support structural, insulation, fire protection, and architectural applications.
- Proper processing ensures consistent quality and performance.
- LWA contribute to durable, economical, and sustainable construction solutions.
Conclusion
In conclusion, lightweight aggregates offer an efficient solution for modern construction by balancing strength, weight reduction, and performance. Their role in lightweight aggregate concrete has become increasingly important for structural and non-structural applications alike. Understanding the types of lightweight aggregate, including natural and artificial allows engineers to select materials suited to specific design needs. The lightweight aggregate manufacturing process directly affects quality, durability, and consistency, making process control essential. In addition, the properties of lightweight aggregate, such as low density, thermal insulation, and adequate strength, contribute to improved structural efficiency and sustainability. When selected and applied correctly, these materials support safe design, cost-effective construction, and long-term performance across a wide range of engine