Constructing a building involves several stages, including preconstruction and post-construction phases. The preconstruction stage encompasses project initiation, design and planning, obtaining permits and approvals, and procurement and contracting. It sets the foundation for successful construction by defining objectives, creating designs, securing necessary permissions, and selecting contractors.
Constructing a building encompasses the physical execution of the project, involving activities like excavation, structural construction, and interior finishes. Post-construction activities include testing and inspections, occupancy and commissioning, documentation, and ongoing maintenance. These stages ensure that the building meets quality standards, adheres to regulations, and functions optimally for its intended purpose. This article is about the preconstruction and post-construction stages of a building.
Constructing a building – Steps involved
Pre-construction and post-construction stages are the major stages involved in constructing a building.
Preconstruction steps in Constructing a building
- Project Initiation
- Feasibility Study
- Design Development
- Permitting and Approvals
- Cost Estimation
- Value Engineering
- Scheduling
- Procurement and Contracting
Project initiation
Project initiation is the first step in building construction, involving assessing project needs, conducting feasibility studies, identifying stakeholders, defining objectives, and securing initial funding. It sets the foundation for a successful project by determining its viability, scope, and initial direction.
Feasibility study
The feasibility study is a process in building construction that evaluates the practicality and potential success of a project. It involves analyzing various factors such as financial viability, market demand, site suitability, environmental impact, and legal considerations. The study helps determine if the project is viable and worth pursuing.

Design Development for constructing a building
Design development is a phase in building construction where preliminary design concepts are further developed into detailed designs. It involves refining architectural and engineering plans, selecting materials, incorporating structural elements, and addressing functional requirements. The goal is to create comprehensive and accurate designs that meet the project objectives.
Permitting and Approvals for constructing a building
Permitting and approvals are essential steps in building construction that involve obtaining the necessary permits, licenses, and approvals from relevant authorities. This includes submitting architectural plans, environmental impact assessments, and other required documentation to ensure compliance with building codes, regulations, and zoning ordinances.
Cost Estimation for Constructing a Building
Cost estimation is the process of estimating the total expenses associated with a building construction project. It involves analyzing various factors such as materials, labour, equipment, permits, and overhead costs to determine the overall project cost. Accurate cost estimation helps in budgeting and financial planning for the construction project.
Value Engineering for constructing a building
Value engineering is a systematic approach used in building construction to optimize the value and efficiency of a project. It involves reviewing the design, materials, and construction methods to identify opportunities for cost savings, improved functionality, and enhanced performance while maintaining the project’s objectives and quality standards.
Scheduling
Scheduling in building construction refers to the process of creating a timeline and sequence of activities to guide the construction project. It involves identifying the necessary tasks, estimating their durations, and determining their interdependencies to ensure efficient resource allocation, coordination, and timely completion of the project.
Procurement and Contracting
Procurement and contracting in building construction involve the selection and acquisition of materials, equipment, and services necessary for the project. It includes preparing bid documents, soliciting proposals from suppliers and subcontractors, evaluating offers, negotiating contracts, and awarding agreements. Effective procurement and contracting ensure the availability of resources and adherence to project specifications and timelines.
During construction steps in Constructing a building
During the construction stage of building construction, the following steps are typically undertaken:
- Site Preparation
- Excavation and Foundation Work
- Structural Construction
- Installation of Utilities (Electrical, Plumbing, HVAC)
- Exterior and Interior Finishes
- Flooring and Wall Finishes
- Installation of Fixtures and Equipment
- Final Inspections and Quality Control
- Site Cleanup and Waste Disposal
These steps involve the physical execution of the building project, transforming the design and plan into a completed structure. Each step requires coordination, skilled labour, and adherence to safety and quality standards.
Site preparation for constructing a building
Site preparation is the initial phase of construction where the building site is prepared for construction activities. It involves clearing vegetation, levelling the ground, establishing access points, and implementing necessary safety measures to create a suitable and safe work environment.
Excavation and Foundation Work
Excavation and foundation work is a critical phase of construction involving the digging of trenches, removal of soil, and construction of the foundation. This process provides a stable base for the building and prepares the site for further construction activities.
Structural Construction
Structural construction is a crucial phase in building construction that involves the assembly and construction of the building’s structural elements. It encompasses several key steps:
- Formwork: Creating temporary structures (formwork) to shape and support concrete during pouring and curing.
- Reinforcement Installation: Placing steel reinforcement bars (rebar) within the formwork to provide strength and structural integrity.
- Concrete Pouring: Pouring concrete into the formwork, ensuring proper placement and compaction.
- Curing: Allowing the concrete to cure and gain strength over time through hydration.
- Column and Beam Construction: Erecting columns and beams to support the building’s framework, ensuring accurate alignment and connection.
- Slab Construction: Building horizontal slabs, such as floor slabs, roof slabs, and intermediate slabs, providing structural support and functional surfaces.
- Wall Construction: Constructing load-bearing or non-load-bearing walls using materials like concrete blocks, bricks, or precast panels.
- Staircase and Elevator Shaft Construction: Building vertical circulation elements, such as staircases and elevator shafts, ensuring safety and accessibility.
- Roof Construction: Installing the roof structure, including trusses, beams, and roofing materials, to provide shelter and protect the building.
- Quality Control: Conducting inspections and tests to ensure structural integrity, adherence to building codes, and safety standards.
Structural construction is a critical phase that lays the foundation for the building’s overall strength and stability, supporting subsequent construction activities and the realization of the final structure.
Installation of Utilities (Electrical, Plumbing, HVAC)
The installation of utilities, including electrical, plumbing, and HVAC (Heating, Ventilation, and Air Conditioning) systems, is a vital phase in building construction. It involves the placement and connection of electrical wiring, fixtures, and outlets; the installation of plumbing pipes, fixtures, and drainage systems; and the set up of HVAC equipment for heating, cooling, and ventilation to ensure functionality and comfort within the building.

Exterior and Interior Finishes
During the exterior and interior finishes phase of building construction, the building’s surfaces are enhanced and protected. Exterior finishes include the application of materials like paint, siding, stucco, or cladding to provide weather resistance and aesthetics. Interior finishes involve installing flooring, wall finishes, ceilings, and other decorative elements to create a visually appealing and functional space inside the building.
Flooring and Wall Finishes
During the flooring and wall finishes phase of building construction, the surfaces are transformed to enhance aesthetics, durability, and functionality. Flooring involves installing materials such as tiles, hardwood, or carpeting. Wall finishes include applying paint, wallpaper, or decorative panels. These finishes contribute to the overall appearance and ambience of the interior spaces.
Installation of Fixtures and Equipment
During the installation of fixtures and equipment phase of building construction, various fixtures and equipment are installed to make the building functional and ready for use. This includes fitting and connecting items like lighting fixtures, plumbing fixtures, cabinetry, appliances, and other necessary equipment to ensure the building is equipped and operational for its intended purpose.
Final Inspections and Quality Control
During the final inspections and quality control phase of building construction, thorough inspections are conducted to ensure compliance with building codes, regulations, and quality standards. This involves reviewing the construction work, checking for any defects or deficiencies, and verifying that all systems and components meet the required standards. It ensures that the building is safe, functional, and meets the expected quality levels before occupancy or handover.
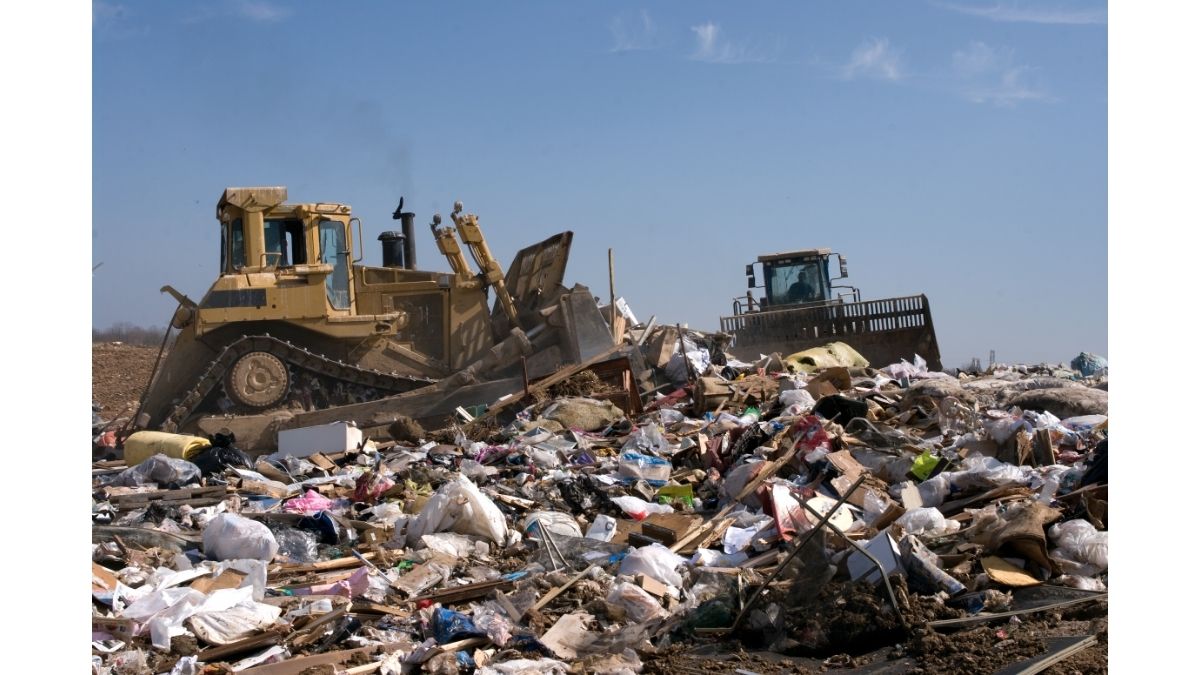
Site Cleanup and Waste Disposal
Site cleanup and waste disposal is the final step in building construction. It involves removing construction debris, cleaning the site, and properly disposing of waste materials in accordance with environmental regulations to restore the site to a safe and clean condition.
Post-construction steps in Constructing a building
- Testing and Inspections
- Certificate of Occupancy
- Commissioning
- Handover and Documentation
- Post-Occupancy Evaluation
- Maintenance and Facility Management
Testing and Inspections
Testing and inspections involve conducting assessments to verify the quality and functionality of various building systems, components, and installations.
Certificate of Occupancy
A Certificate of Occupancy is a document issued by local authorities after the final inspections, indicating that the building meets all relevant codes and regulations, and is deemed safe and suitable for occupancy.
Commissioning
Commissioning is the process of ensuring that all building systems, equipment, and components are installed, tested, and functioning properly. It involves verifying their performance, efficiency, and compliance with design and operational requirements before the building is occupied.
Handover and Documentation
Handover and documentation is the process of transferring the completed building to the owner or client. It involves providing all relevant documents, records, and manuals, ensuring a smooth transition, and formally concluding the construction project.
Post-Occupancy Evaluation
Post-occupancy evaluation is the assessment of a building’s performance, functionality, and user satisfaction after it has been occupied. It involves gathering feedback, identifying areas for improvement, and informing future design and construction decisions.
Maintenance and Facility Management
Maintenance and facility management involves the ongoing upkeep and management of the building and its systems. This includes routine inspections, repairs, and maintenance activities to ensure the building remains in optimal condition, meets operational requirements, and provides a safe and comfortable environment.